Suture management does not end with knot placement. The precision of cutting or removal directly influences wound stability, tissue preservation, and overall procedural efficiency. In high-volume settings, even minor inefficiencies or inconsistencies at this stage can impact workflow and clinical outcomes.
Globally, an estimated 313 million surgical procedures are performed each year, highlighting the scale at which such seemingly small instrument decisions are repeated in practice. At this volume, the reliability of cutting instruments becomes less about preference and more about consistency, control, and safety.
Instrument selection is therefore shaped by factors such as suture type, knot placement, and proximity to tissue. Poor blade alignment or reduced sharpness can compromise cutting accuracy, particularly in precision-driven environments.
This blog examines how scissors for sutures are selected, the clinical contexts that guide their use, and their role in ensuring controlled, predictable outcomes across surgical and outpatient settings.
TL;DR
- Suture cutting relies on blade interaction, not force; effective division happens only where the edges meet and slide, making alignment critical.
- Performance drops when edges wear or joints loosen, causing sutures to deform or get clasped instead of being cleanly cut, reducing precision.
- Instrument design elements such as blade geometry, edge quality, and joint tension directly determine cutting consistency and control.
- Reliable outcomes depend on correct selection, regular performance testing, and proper maintenance, not just technique or operator preference.
What Are Scissors for Sutures Used For in Clinical Practice?
Suture cutting is not treated as a generic task in surgical settings. It is approached as a material-specific action, where the instrument must deliver a controlled cut without affecting adjacent tissue or compromising the suture line.
In practice, scissors used for sutures serve two distinct roles depending on the stage of care:
Where they are used
- During procedures (intraoperative use)
- Cutting sutures close to the knot without disturbing tension
- Ensuring a clean division to maintain knot integrity
- After wound healing (postoperative use)
- Removing sutures with minimal traction on tissue
- Allowing controlled access under the suture before cutting
What makes their function clinically important
- Cutting occurs at the blade contact point
- Effective cutting happens where the inner blade surfaces meet and slide
- This is the only point where force is concentrated for a clean division
- Shearing action, not pressure, defines performance
- Proper cutting relies on a smooth sliding motion between blades
- Excess force or poor alignment leads to deformation before cutting begins
- Instrument condition directly affects tissue interaction
- Blunt or misaligned blades compress rather than cut
- This can increase the risk of tissue trauma and reduce procedural efficiency
Material and build considerations
- Typically made from medical-grade stainless steel
- Often reinforced with tungsten carbide for edge retention and durability
- Designed to maintain consistent blade tension and alignment over repeated use
Why Precision Matters in Scissors for Sutures?
The quality of the cut depends on how the blades interact, how force is transmitted, and how consistently the instrument performs under use. Clinical literature shows that scissors cut through a shearing action, where the sharpened edges slide against each other to divide material at a single contact point.
When this interaction is optimal, the cut is clean and controlled. When it is not, performance drops quickly.
What determines cutting precision in practice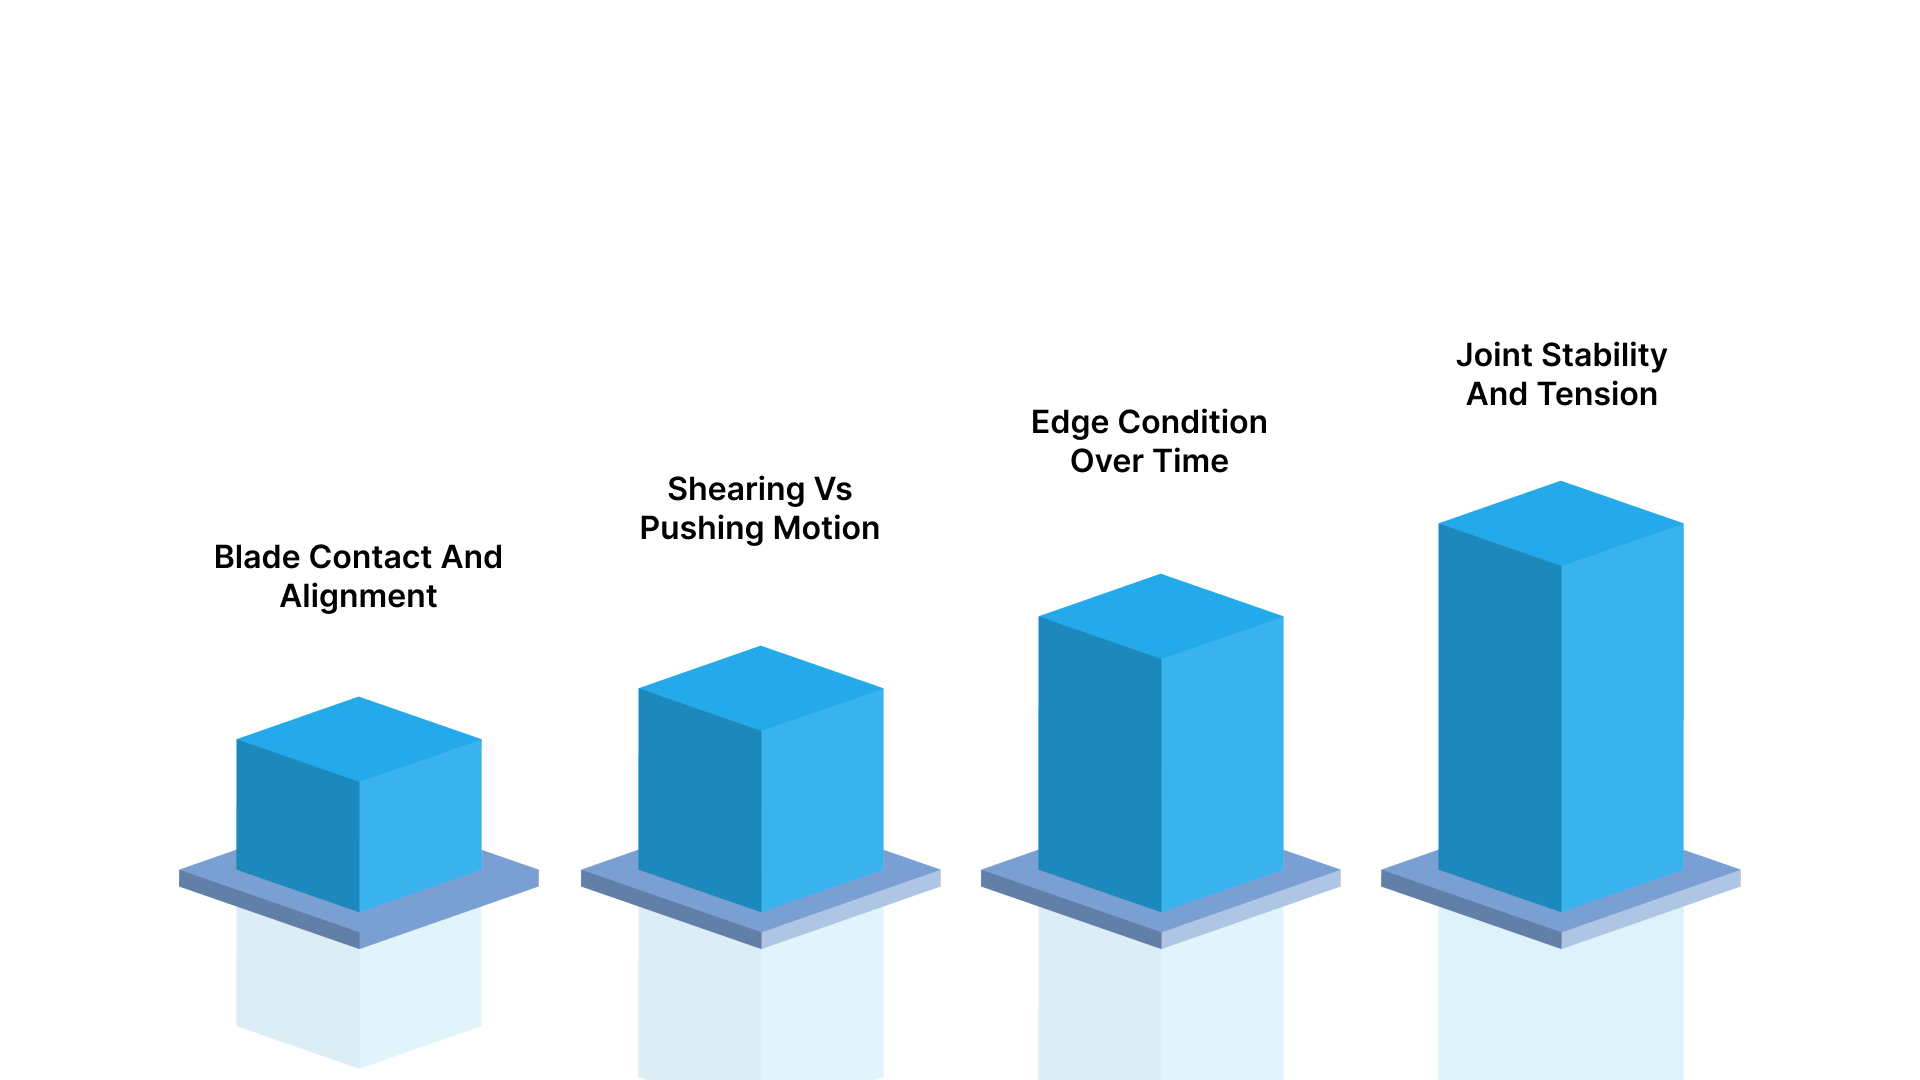
- Blade contact and alignment
- Cutting occurs only where the inner blade surfaces meet
- If this contact is lost, the material is compressed instead of cut
- Shearing vs pushing motion
- Effective scissors combine slicing with forward pressure
- Excess pushing causes deformation before cutting begins, increasing tissue stress
- Edge condition over time
- Repeated use creates micro-pits and rounding of edges
- This reduces cutting efficiency and leads to tissue contusion instead of clean division
- Joint stability and tension
- A loose joint prevents proper blade contact
- This disrupts the shearing mechanism and compromises control
Key Design Features That Matter in Suture Scissors
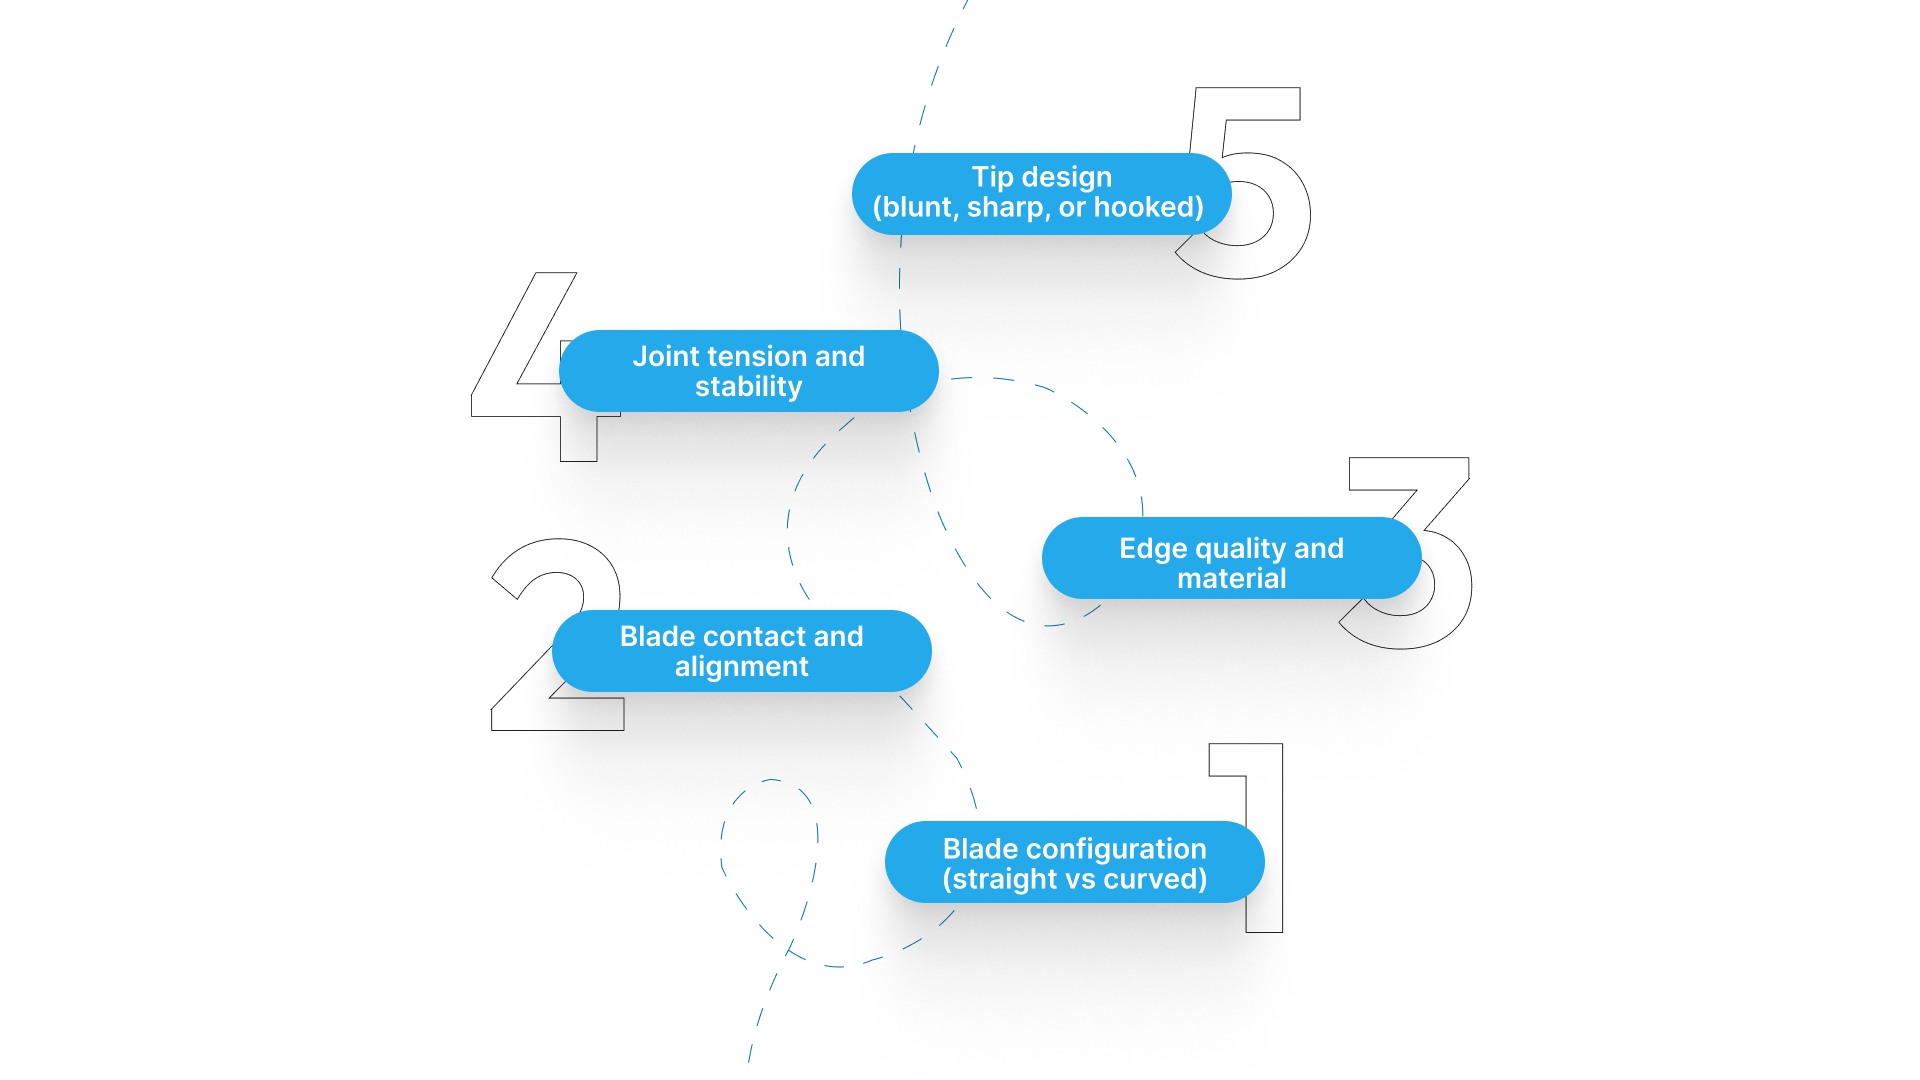
Suture cutting performance is not defined by sharpness alone. It is shaped by how the instrument is engineered to deliver controlled shearing at the blade interface, while maintaining stability and feedback during use. Optimal cutting occurs only when these design elements work together.
Blade configuration (straight vs curved)
- Straight blades are typically preferred for suture cutting due to better control in linear cuts
- Curved blades are designed for tissue dissection and access in deeper planes
Why it matters:
- Straight geometry allows precise, flush cuts near knots
- Curvature introduces variability in contact and is less ideal for material cutting
Blade contact and alignment
- Cutting occurs only at the exact point where blades meet and slide
- Proper alignment ensures consistent shearing along the cutting path
Why it matters:
- Misalignment leads to crushing or incomplete cuts instead of clean division
- Blade interaction, not just edge sharpness, determines cutting performance
Edge quality and material
- Typically made from medical-grade stainless steel, often reinforced with tungsten carbide
- Designed to maintain edge integrity under repeated use
Why it matters:
- High-quality edges enable smooth, low-force cutting
- Material reinforcement improves durability and reduces the frequency of sharpening
Joint tension and stability
- The central joint (hinge) controls how tightly the blades come together
- Proper tension ensures a smooth opening and closing motion
Why it matters:
- Loose joints reduce blade contact, leading to inefficient cutting
- Stable tension maintains consistent shearing action across repeated use
Tip design (blunt, sharp, or hooked)
- Blunt tips for safety
- Sharp tips for precision
- Hooked/notched tips for suture engagement
Why it matters:
- Tip geometry determines access, safety, and control near tissue
- Specialized tips reduce the risk of accidental tissue injury during suture handling
How to Test Suture Scissors for Cutting Performance?
Suture scissors should not be evaluated by appearance alone. Cutting performance depends on blade sharpness and joint integrity, both of which directly affect how the blades meet and slide during use.
Below is a simple functional test that can help identify whether the scissors are still capable of delivering a clean cut:
A simple functional check used in practice
Instead of relying on visual inspection, scissors can be tested using a uniform, low-resistance material such as cotton wool.
- A small strip is cut using the full length of the blades
- The material is then gently pulled while the blades remain closed
This approach evaluates cutting consistency across the entire blade, not just sharpness at a single point.
What the results indicate
Clean, straight separation
- Indicates proper blade contact and effective cutting edges
Material is grasped or pulled instead of cut
- Suggests blunt edges or inadequate blade interaction
Inconsistent cutting along the blade length
- May indicate localized wear or misalignment
Clinical references note that when scissors fail to cut and instead “clasp” material, the issue is commonly related to edge dullness or a loose joint preventing proper blade contact.
How to Sharpen and Maintain Suture Scissors?
Suture scissors lose cutting efficiency with repeated use. The cutting edges gradually become rounded and develop pits, reducing their ability to divide suture material cleanly. Instead of cutting, the blades may begin to grip or deform the suture before division.
Sharpening restores performance by removing a thin layer from the cutting surface to recreate the edge, allowing proper blade interaction.
Step-by-step: Sharpening process
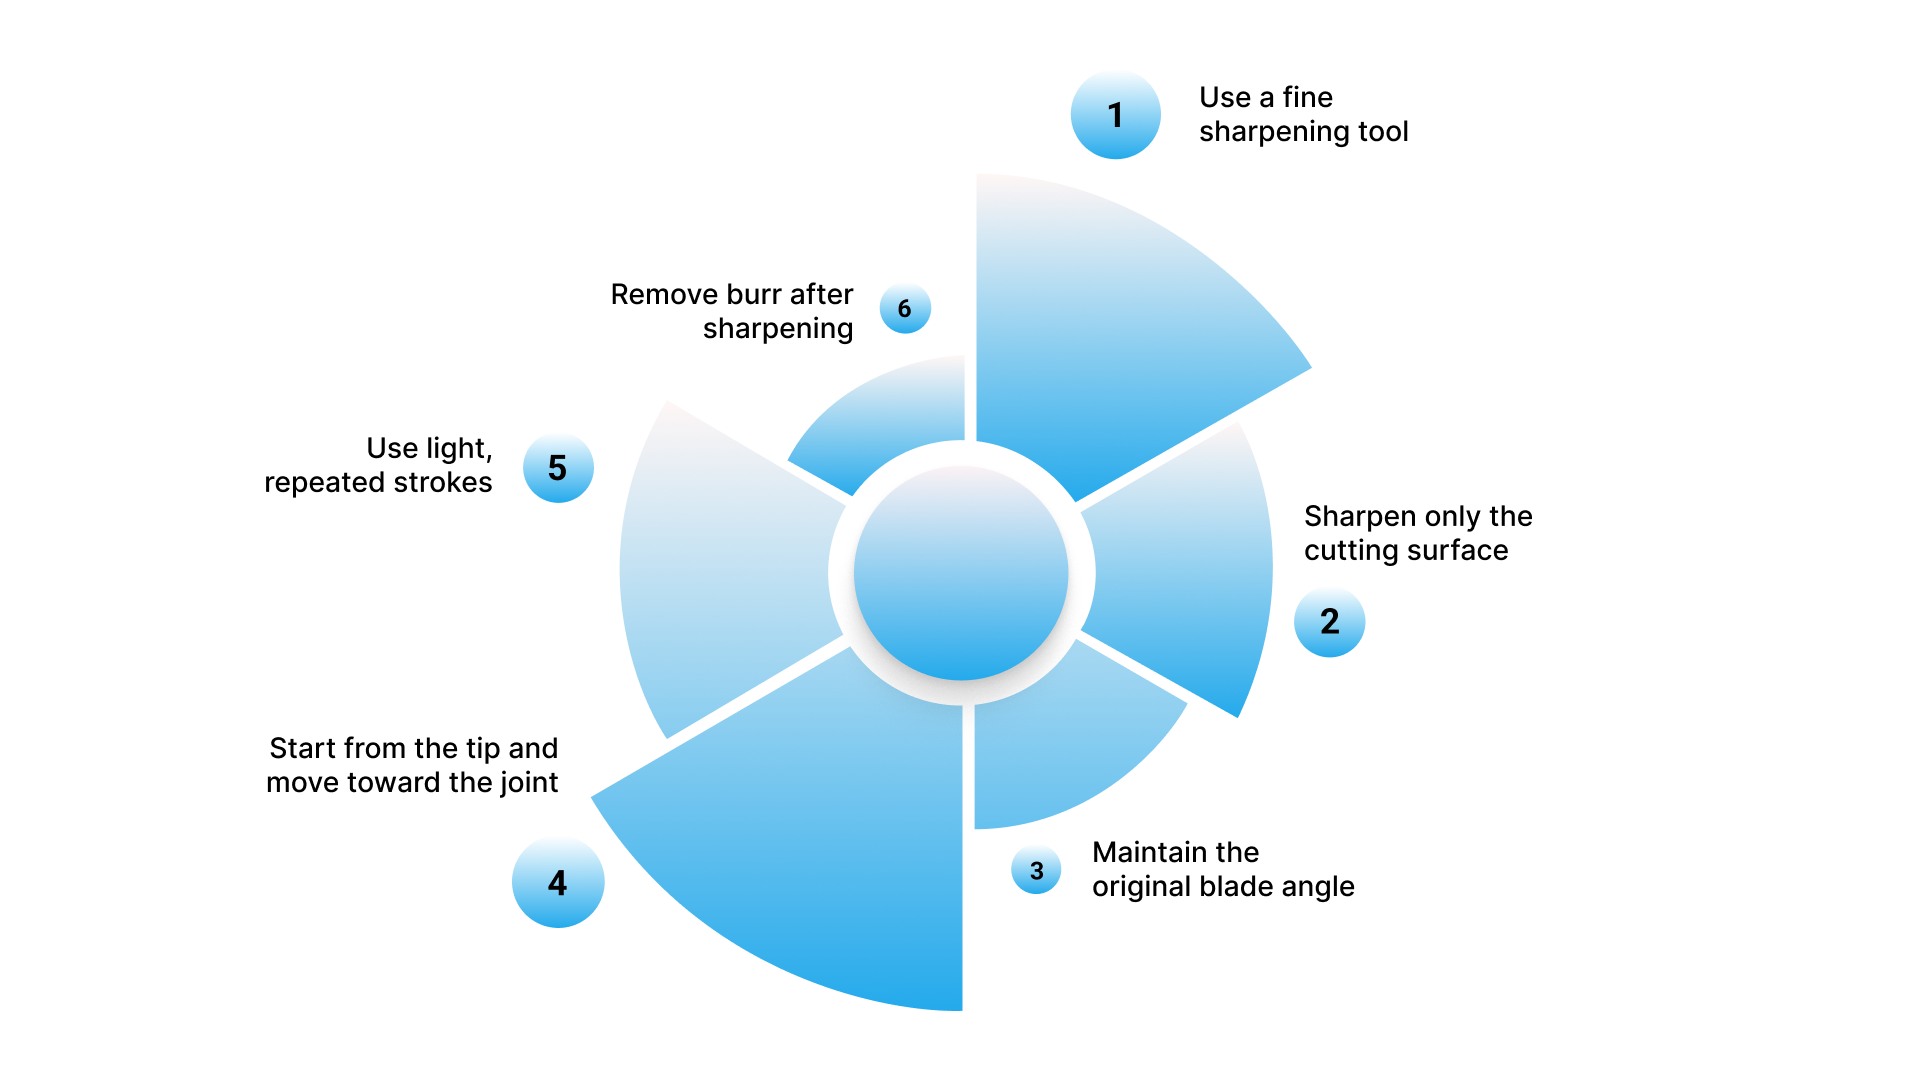
Use a fine sharpening tool
- A triangular sharpening stone (800–1200 grit) provides controlled results
- Apply a few drops of oil to improve surface smoothness
Sharpen only the cutting surface
- The cutting edge forms where the inner surface meets the cutting surface
- The inner surface must not be filed, as this disrupts blade interaction
Maintain the original blade angle
- Use reflected light to identify when the surface is horizontal
- Keeping the stone aligned preserves the cutting angle
Start from the tip and move toward the joint
- Prevents rounding of the tip
- Ensures even sharpening along the blade length
Use light, repeated strokes
- Sharpening depends on repetition, not force
- Each stroke should cover the full cutting surface
Remove burr after sharpening
- A metal burr may form on the inner surface
- This must be removed to prevent damage to the opposite blade
Final Thoughts
Scissors for sutures are selected based on function, not convenience. Their effectiveness depends on how well the blade edges meet and slide, enabling clean, controlled division of suture material. When this interaction is compromised, sutures may be grasped or deformed instead of cut, reducing precision and efficiency.
Their value lies in consistent cutting performance, particularly near knots and in high-frequency workflows where reliability matters.
For teams looking to streamline closure beyond conventional methods, SubQ It! offers a bioabsorbable stapling system designed for efficient application with subcuticular placement and no removal requirement.
To explore how SubQ It! can support your surgical practice, connect with the SubQ It! team.
FAQs
1. What are scissors for sutures used for?
Scissors for sutures are used to cut and remove suture material with precision, especially near knots or in confined surgical areas. They are designed for controlled division without affecting the surrounding tissue.
2. Why should you use dedicated scissors for sutures?
Dedicated scissors maintain cutting efficiency and blade integrity. Suture material can dull blades quickly, making multi-purpose scissors less effective over time.
3. Where should you cut a suture for the best results?
For best results, place the suture at the point where the blades meet, as cutting occurs through the sliding contact of the blade edges, not at the tips.
4. What causes suture scissors to stop cutting properly?
Suture scissors lose effectiveness due to the following:
- blade dullness
- misalignment
- loose joint tension
These factors reduce blade contact and disrupt the cutting mechanism.
5. How do you know if suture scissors need replacement?
Scissors may need replacement if they:
- grip or stretch sutures instead of cutting
- produce uneven or incomplete cuts
These signs indicate reduced edge quality or poor blade interaction.
6. Why is blade alignment important in suture scissors?
Blade alignment ensures continuous edge contact, which is essential for effective cutting. Misalignment leads to inefficient or inconsistent cuts.
7. Can dull scissors affect suture handling?
Yes. Dull scissors can cause sutures to fray, stretch, or deform before cutting, reducing precision and control during procedures.